Migration Guide
How to export your Strava data and keep your ride history useful.
Strava can provide a bulk export of your account data. Velolytica can import the resulting archive so your old rides become a local training history, not a folder of forgotten files.
1. Request your Strava export
In Strava, open your account settings and look for the account export or bulk export option. Request the export and wait for Strava to prepare the archive. The result is typically a ZIP file containing activity files and metadata.
2. Keep the ZIP intact
Do not manually rename or reorganize the archive before importing. Keeping the ZIP intact lets Velolytica read ride files and activity metadata together, including human-readable ride names when available.
3. Import into Velolytica
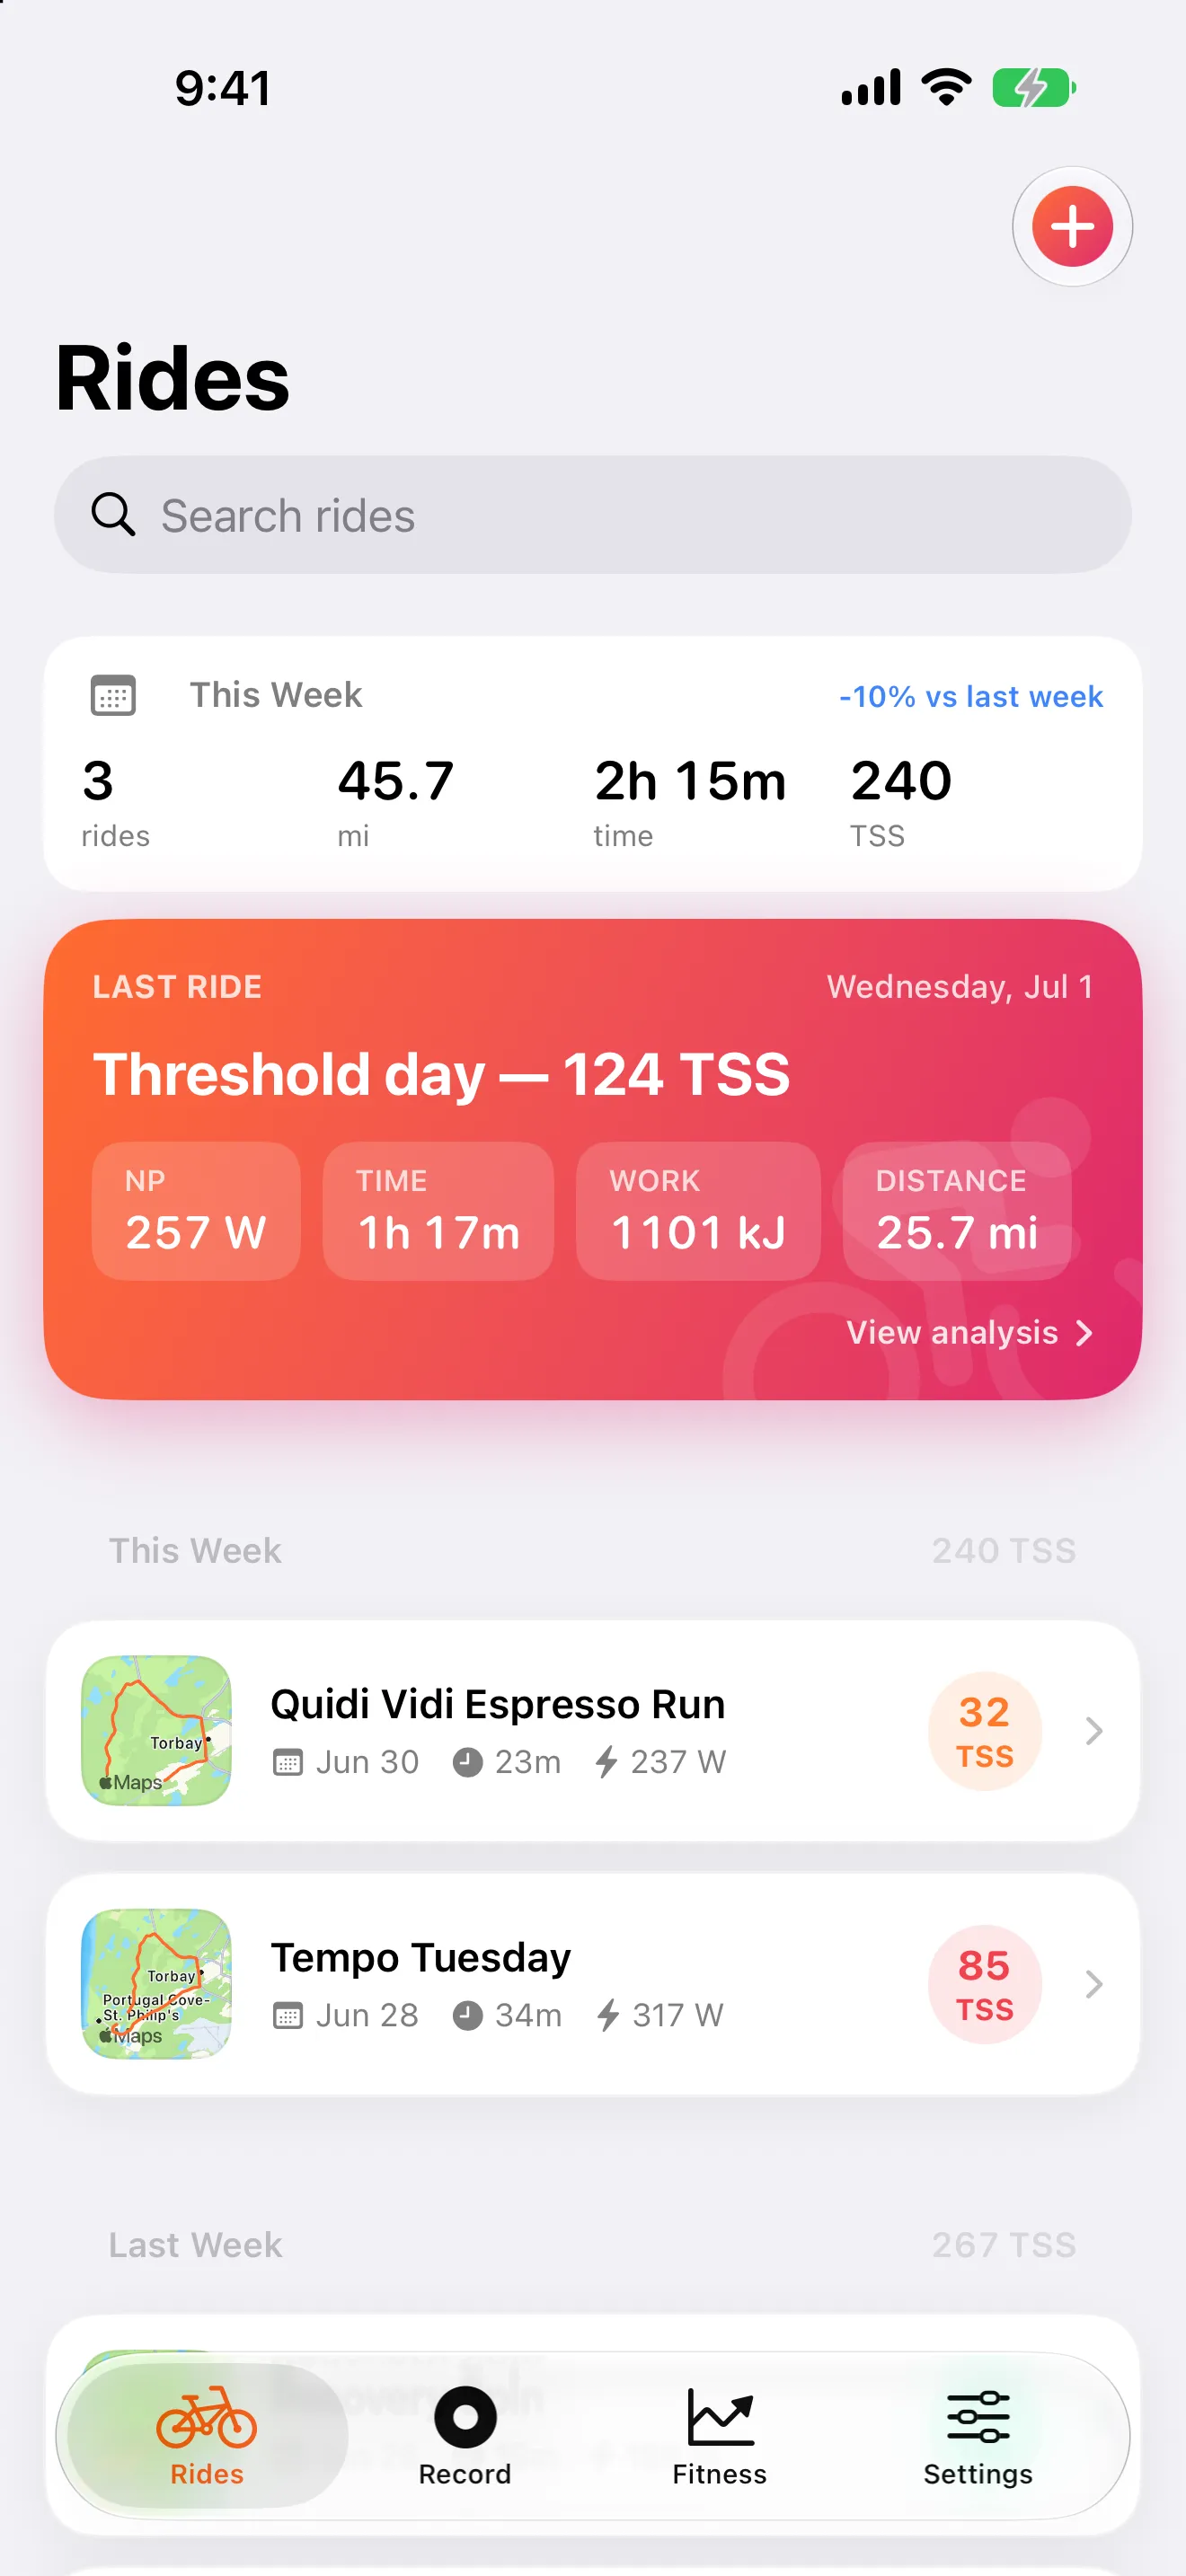
On iPhone, open the ZIP from Files, Mail, or another app and share it to Velolytica. The app expands supported ride files, skips files that are not rides, detects duplicates, and builds your local library.
4. Review the reveal
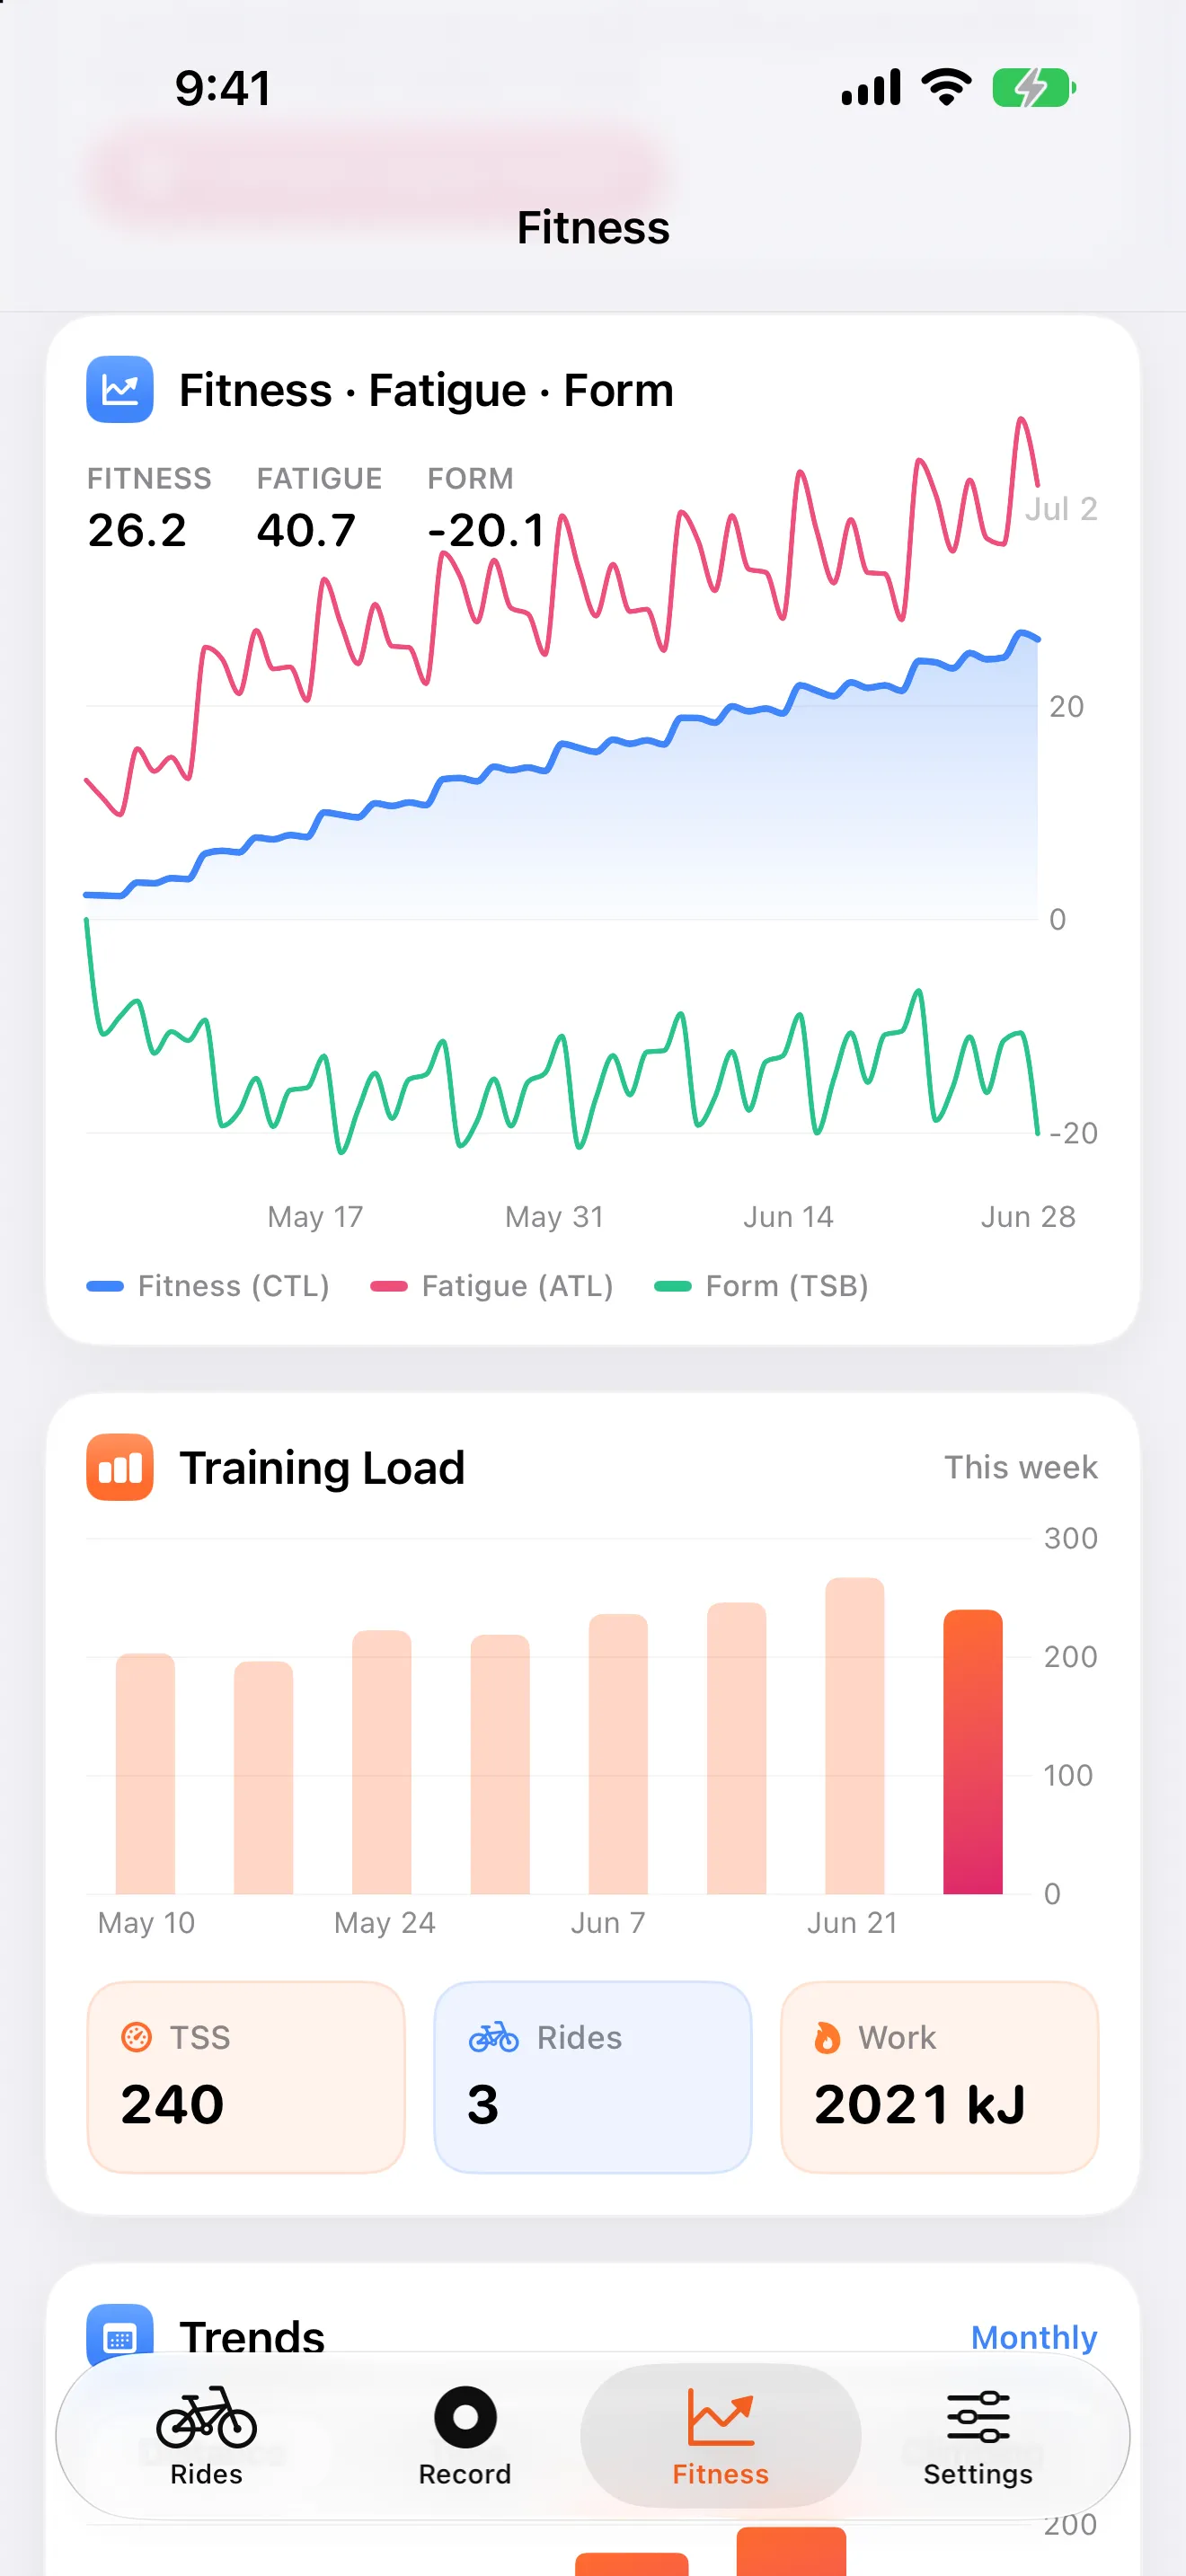
Once the archive is imported, open the Fitness tab. Your historical rides turn into fitness, fatigue, form, power records, monthly trends, and other long-term analytics.
Troubleshooting
- If the archive is very large, keep the phone awake until import progress finishes.
- If a ride is skipped, confirm it is a cycling FIT, GPX, or TCX file.
- If duplicate files exist in multiple formats, Velolytica should keep one canonical ride.
- If non-cycling activities appear, they should stay out of cycling fitness and power aggregates when identified correctly.